作者:matrix
发布时间:2019 年 2 月 22 日
分类:零零星星
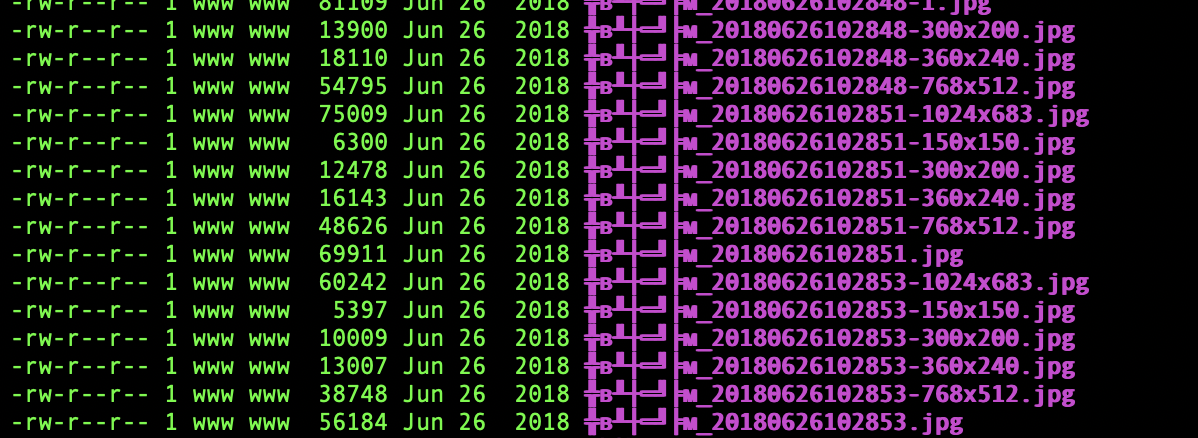
win上的打包的文件丢到linux 解压发现中文的前缀乱码,本来mv命令到是可以修改 顾于文件太多,发现用rename方便的多╬в╨┼═╝╞м_20180626102853.jpg修改还原为微信图片_20180626102853.jpg
执行操作
文件数量有点多执行rename 's/╬в╨┼═╝╞м(.*)/微信图片$1/' *
rename --help
Usage:
    rename [ -h|-m|-V ] [ -v ] [ -n ] [ -f ] [ -e|-E *perlexpr*]*|*perlexpr*
    [ *files* ]

Options:
    -v, -verbose
            Verbose: print names of files successfully renamed.

    -n, -nono
            No action: print names of files to be renamed, but don't rename.

    -f, -force
            Over write: allow existing files to be over-written.

    -h, -help
            Help: print SYNOPSIS and OPTIONS.

    -m, -man
            Manual: print manual page.

    -V, -version
            Version: show version number.

    -e      Expression: code to act on files name.

            May be repeated to build up code (like "perl -e"). If no -e, the
            first argument is used as code.

    -E      Statement: code to act on files name, as -e but terminated by
            ';'.
perlexpr表达式
perlexpr 还可用于其他命令,如sed
perlexpr 表达式形如:
Substitution替换s / expr1 / expr2 / [gi]/为分界符,可以使用其他任意字符为分界符expr1,expr2都支持正则 expr1会被查找替换为expr2。ig两个字母分别为正则的匹配模式:忽略大小写和全局匹配,否则默认换行为分界符。方括号[]包裹表示他们可不填。
Translation字符转译s,它可用于将一个字符串转换为另一个字符串,即字符转换。表达式如:y/charset1/charset2/
如:rename 'y/A-Z/a-z/' *rename 's/$/\.txt/' *
PEACE~
参考:rename .htm
作者:matrix
发布时间:2019 年 2 月 13 日
分类:零零星星
2K 显示器用1920*2080分辨率满屏显示的情况下会发现字体微模糊的情况。原因在于没有开启HIDPI ,使用RDM软件 切换分辨率就会发现没有闪电⚡️图标。2K 显示器
禁用系统文件保护SIP
重启电脑并按住Command+R进入恢复模式 顶部的菜单中找到终端工具,输入 csrutil disable; reboot。禁用system系统文件保护。comsysto.github.io工具 的五个步骤操作
1.1执行命令[Big Sur及以上版本]
$ sudo cp -R /System/Library/Displays /Library/
1.1.1 直接跳转到第4步
将保存路径修改为/Library/Displays/Contents/Resources/Overrides/
例如:
$ sudo cp ~/Downloads/DisplayProductID-ccd.plist /Library/Displays/Contents/Resources/Overrides/DisplayVendorID-5e3/DisplayProductID-ccd
1.2执行命令[Catalina及以下版本]
$ sudo mount -uw / #Catalina 10.15+以上的系统需要把系统分区重新挂载为可写。重启后失效
$ sudo defaults write /Library/Preferences/com.apple.windowserver.plist DisplayResolutionEnabled -bool true
2.获取显示器参数ID值
终端执行ioreg -lw0 | grep IODisplayPrefsKeyIODisplayPrefsKey:DisplayVendorId为3721,DisplayProductID为2717,都是16进制值。ioreg -l | grep "DisplayVendorID"命令获取的为10进制数值。comsysto.github.io工具配置中使用。
3.配置显示参数
注意修改对应的DisplayProductID和DisplayVendorID值。DisplayProductName显示器名称可以填写上去。下面Scale Resolutions中需要确保有自己使用的分辨率的且开启hidpi。我这里是想用1920*2080分辨率也就可以将就他的配置,只是需要修改显示器id参数。DisplayProductID-XXXX按钮下载plist文件DisplayProductID-2717.plist
4.放置显示器配置文件到system系统
#3721为显示器的DisplayVendorId
#2717为显示器的DisplayProductID

cd /System/Library/Displays/Contents/Resources/Overrides

mkdir DisplayVendorID-3721 #创建显示器名称的目录

sudo cp ~/Downloads/DisplayProductID-2717.plist /System/Library/Displays/Contents/Resources/Overrides/DisplayVendorID-3721/DisplayProductID-2717
5.重启系统
重启后使用RDM选择对应的分辨率,会看到1920*2080分辨率有闪电⚡️图标
RDM下载:http://avi.alkalay.net/software/RDM/
显示器配置文件plist:
MAYA U2717H:DisplayProductID-2717.plist
显示器欺骗器5e3-ccd:DisplayProductID-ccd.plist
参考:
https://developer.apple.com/forums/thread/649832?answerId=646352022#646352022
调教Mac外接显示器(开启HiDPI)
HIDPI -Support-For-Scaled-Resolutions/
作者:matrix
发布时间:2019 年 1 月 31 日
分类:零零星星
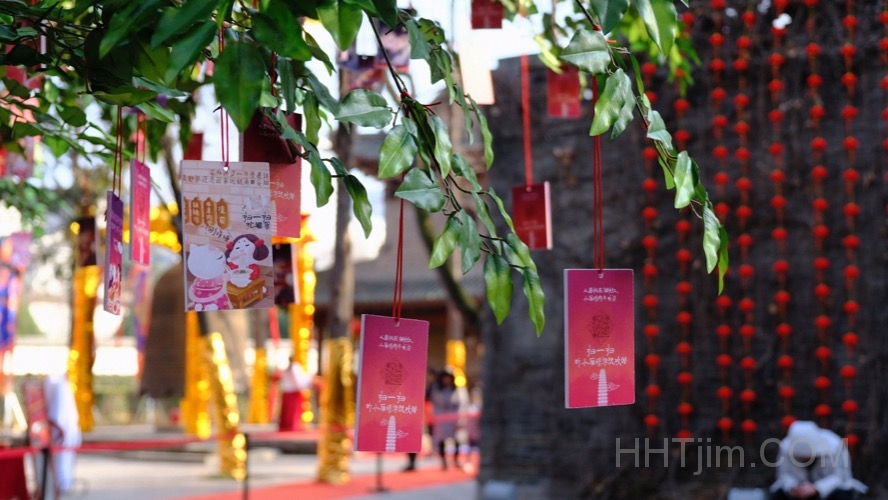
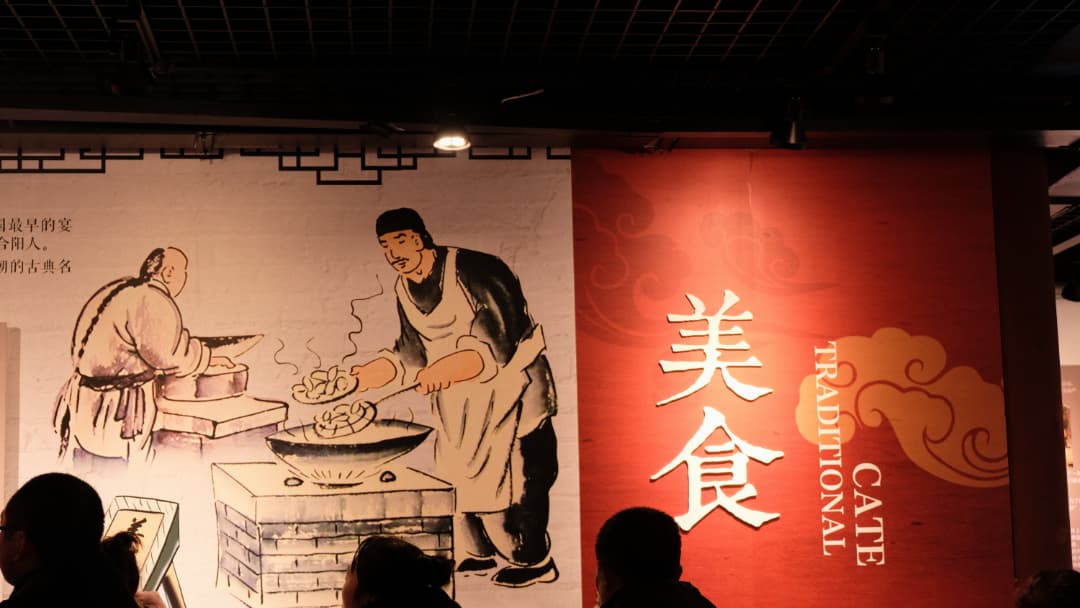
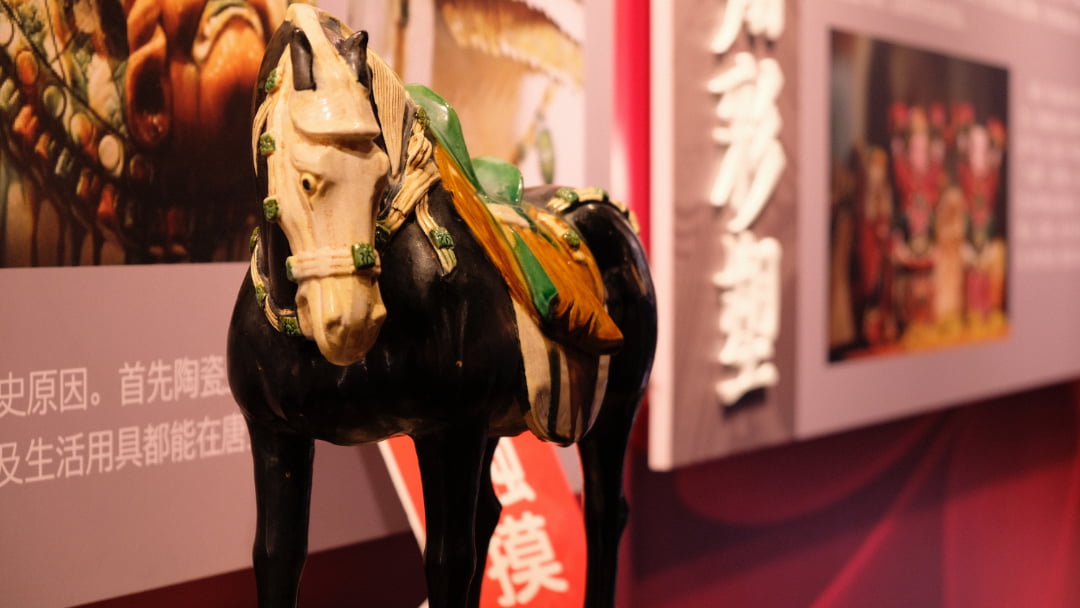
西安 的喜欢大多数是由于小吃和历史,但是胡辣汤,羊肉泡馍好多都是没有try过,还有长安古城墙。。。
FUJIFILM XT20 业余操作
钟楼
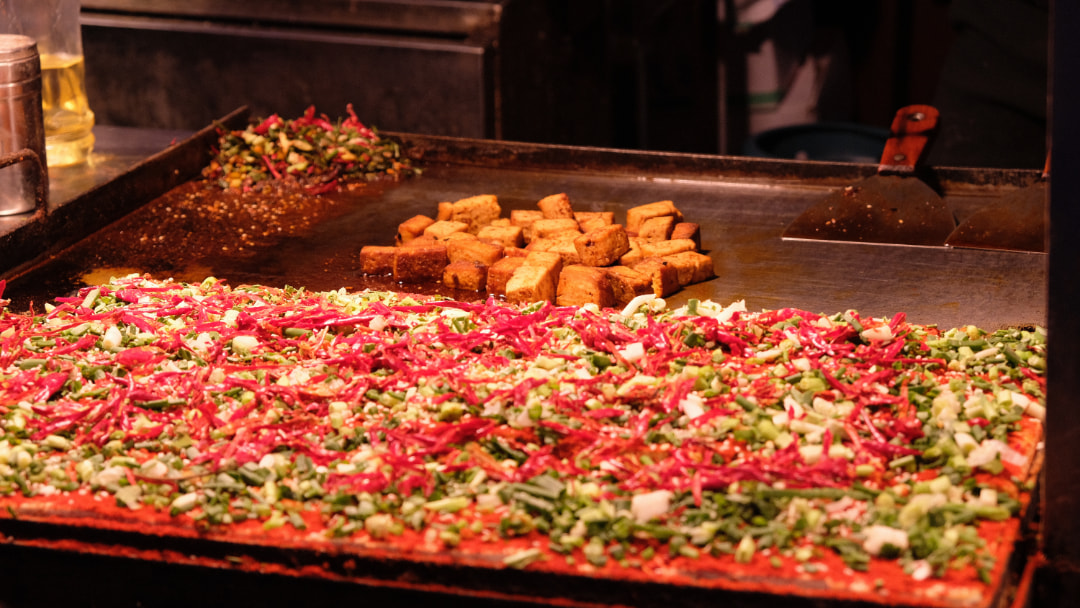
回民街
回民街品吃的羊肉提子和泡馍。羊肉汤味道一般般,出名的店铺还没有去,遂无法记实。还有一点这边餐馆没提供餐巾纸。
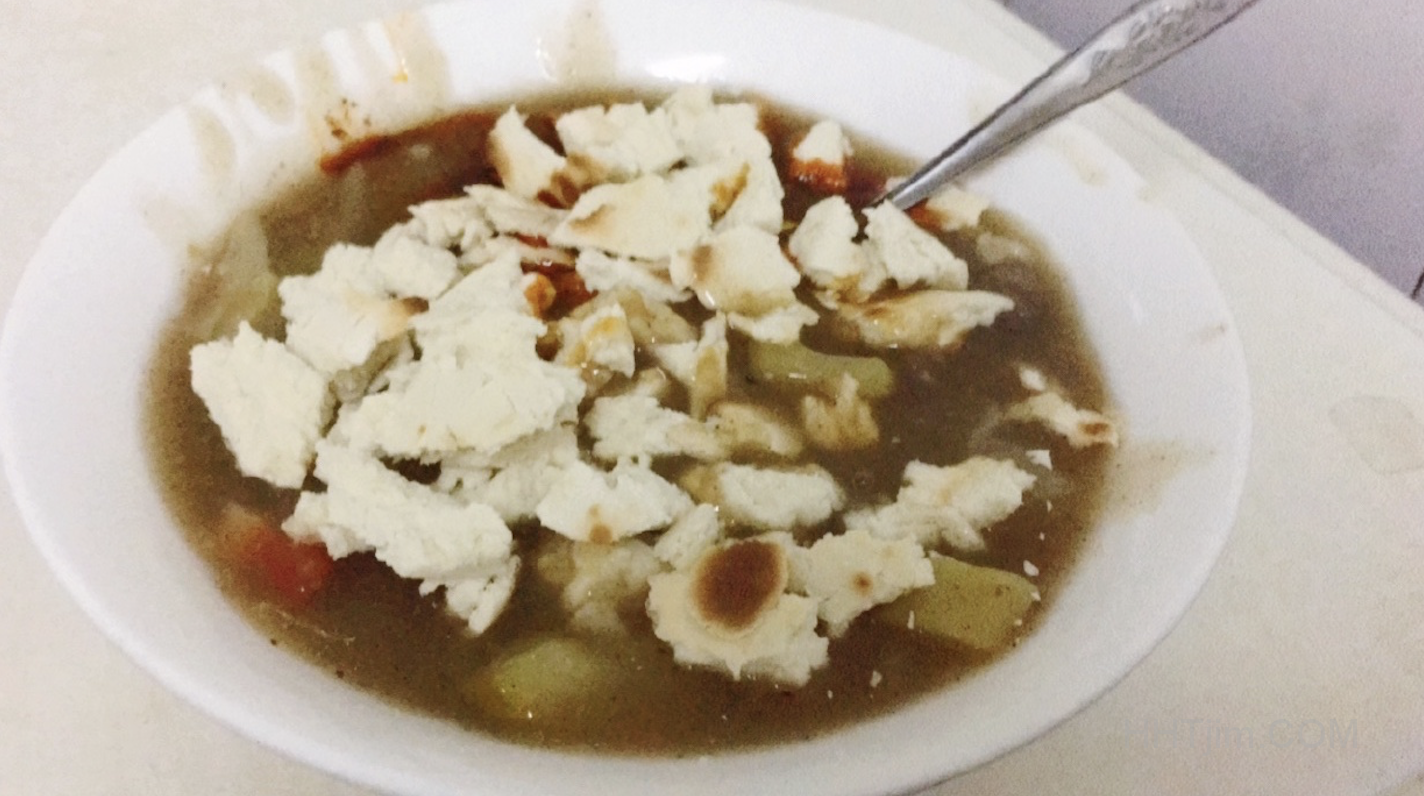
早餐胡辣汤
刘老虎肉丸糊辣汤: https://ditu.amap.com/place/B001D0WFK9
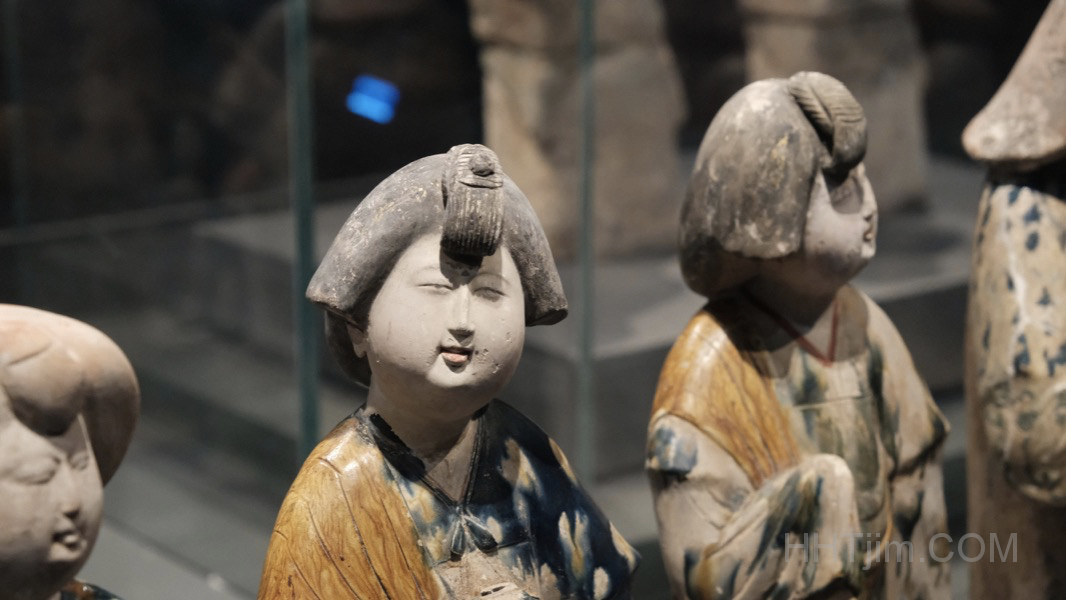
陕博物馆
博物馆外部展览是免费的,只是需要外面排队取票。到里面要继续参观就需要再买票就好了。
location:https://ditu.amap.com/place/B001D03PEX
小雁塔
夜爬华山
在山脚从6.30左右开始慢哟哟往上爬
峨眉山有猴子,那华山路上就很多野猫,so cute~
第一次夜爬,虽然华山路险但是路上都有灯,最大的好处就是晚上看不见周围的悬崖。爬到上面会感到风大和真正直通天路的感觉,因为看到上面的路和天上的星星快要搭起来了,只有这个时候才知道现在爬的位置是有多高!
从爬到东峰观日平台是凌晨1.30左右,后面坐下来休息,超级冷!!TMD 没有带帐篷,暖宝宝也不够用,下次应该准备10+/人。脚臭和奇怪的窜瞌睡动作以及时不时聊成都,bala bala到后面忍不住睡了几小时,终于熬到了头等待日出。钻出帐篷感受到的风寒绝对忘记不了,刺骨钻心的冷和无法控制的抖动,山顶的风让拍照简直是难受,太冷了。
回西安
回到青旅
定家小酥肉:https://ditu.amap.com/place/B001D04YLM
果渊斋米家泡馍馆:https://ditu.amap.com/place/B001D06RAY
todo
秦豫肉夹馍:https://ditu.amap.com/place/B001D04YZ0
窄巷子陕菜馆:https://ditu.amap.com/place/B0FFF6CLEF
陕拾叁冰淇淋:https://ditu.amap.com/place/B0FFFT2TPM
桂花糕是回民街, 摔碗酒是永兴坊。
久年级青年旅舍
goto 久年级青年旅舍
https://www.meituan.com/jiudian/165207302/#久年级青年旅舍
最后真非常感谢朵姐的招待,还有小叶子
这次去西安 单人消费大概1.3K 共5天
作者:matrix
发布时间:2018 年 12 月 19 日
分类:零零星星
官网:https://aria2 .github.io/BT 磁力链.很多网盘下载工具都是用aria2作为下载器离线下载 功能
安装
sudo apt-get install aria2
若需要安装最新版本:
wget https://github.com/aria2/aria2/releases/download/release-1.34.0/aria2-1.34.0.tar.gz
tar -xvf aria2-1.34.0.tar.gz
cd aria2-1.34.0
./configure
make & make install
cp ./src/aria2c /usr/local/bin
aria2c -v #查看版本
配置
sudo mkdir /etc/aria2    #存放conf配置文件的路径
sudo touch /etc/aria2/aria2.session    #新建session文件
sudo chmod 777 /etc/aria2/aria2.session    #设置aria2.session可写
sudo vi /etc/aria2/aria2.conf    #创建并编辑下载操作的配置文件
若不特殊存放aria2默认会读取~/.aria2/aria2.conf中的配置文件
写入以下内容:
# rpc加密密钥
#rpc-secret=xxxxxx
#允许rpc
enable-rpc=true
#允许所有来源, web界面跨域权限需要
rpc-allow-origin-all=true
#允许非外部访问
rpc-listen-all=true
#RPC端口, 仅当默认端口被占用时修改
#rpc-listen-port=6800

#最大同时下载数(任务数), 路由建议值: 3
max-concurrent-downloads=5
#断点续传
continue=true
#同服务器连接数
max-connection-per-server=10
#最小文件分片大小, 下载线程数上限取决于能分出多少片, 对于小文件重要
min-split-size=1M
#单文件最大线程数, 路由建议值: 5
split=100
#下载速度限制
max-overall-download-limit=0
#单文件速度限制
max-download-limit=0
#上传速度限制
max-overall-upload-limit=0
#单文件速度限制
max-upload-limit=0
#断开速度过慢的连接
#lowest-speed-limit=0
#验证用,需要1.16.1之后的release版本
#referer=*

#从会话文件中读取下载任务
input-file=/etc/aria2/aria2.session
#在Aria2退出时保存`错误/未完成`的下载任务到会话文件
save-session=/etc/aria2/aria2.session
#定时保存会话,需要1.16.1之后的release版
#save-session-interval=60

#下载文件的保存路径, 默认为当前启动位置
dir=/home/你的用户名/下载
#禁用IPv6, 默认:false
disable-ipv6=true
#文件缓存, 使用内置的文件缓存, 如果你不相信Linux内核文件缓存和磁盘内置缓存时使用, 需要1.16及以上版本
#disk-cache=0
#另一种Linux文件缓存方式, 使用前确保您使用的内核支持此选项, 需要1.15及以上版本(?)
#enable-mmap=true
#文件预分配, 能有效降低文件碎片, 提高磁盘性能. 缺点是预分配时间较长
#所需时间 none < falloc ? trunc << prealloc, falloc和trunc需要文件系统和内核支持
file-allocation=prealloc

#启用本地节点查找
bt-enable-lpd=true
#添加额外的tracker
bt-tracker=
#单种子最大连接数
#bt-max-peers=55
#强制加密, 防迅雷必备
#bt-require-crypto=true
#当下载的文件是一个种子(以.torrent结尾)时, 自动下载BT
follow-torrent=true
#BT监听端口, 当端口屏蔽时使用
#listen-port=6881-6999

#不确定是否需要,为保险起见,need more test
enable-dht=false
bt-enable-lpd=false
enable-peer-exchange=false
#修改特征
user-agent=uTorrent/2210(25130)
peer-id-prefix=-UT2210-
#修改做种设置, 允许做种
seed-ratio=0
#保存会话
force-save=false
bt-hash-check-seed=true
bt-seed-unverified=true
bt-save-metadata=true
#定时保存会话,需要1.16.1之后的某个release版本(比如1.16.2)
#save-session-interval=60
说明:下载文件的保存路径
运行
sudo aria2c --conf-path=/etc/aria2/aria2.conf -D
说明:
配置系统服务
sudo vi /etc/init.d/aria #
说明:这里使用server aria restart就可以完成重启操作aria2c是以为下面的命令killall 会杀掉同名的所有进程 其中也包括当前执行的脚本。否则会导致restart无效 显示Terminated提示
添加如下内容:
#!/bin/sh
### BEGIN INIT INFO
# Provides:          aria2
# Required-Start:    $remote_fs $network
# Required-Stop:     $remote_fs $network
# Default-Start:     2 3 4 5
# Default-Stop:      0 1 6
# Short-Description: Aria2 Downloader
### END INIT INFO

# 保存到/etc/init.d/aria
# 启动此服务 server aria restart

CONF=/etc/aria2/aria2.conf #配置文件路径

case "$1" in
    start)
        echo -n "Starting aria2c"
        aria2c --conf-path=$CONF -D
        ;;

    stop)
        echo -n "Shutting down aria2c "
        killall aria2c
        ;;

    restart)
        killall aria2c  &>/dev/null
        echo "starting"
        sleep 3
        aria2c --conf-path=$CONF -D
        echo "done"
        ;;

    *)
        echo "Usage:  $0 {start|stop|restart}"
        exit 1
        ;;

esac
exit
sudo chmod 755 /etc/init.d/aria #修改文件权限

#调用
#service aria {start|stop|restart}
使用
chrome 扩展:https://chrome.google.com/webstore/detail/yaaw-for-chrome/dennnbdlpgjgbcjfgaohdahloollfgoc
配置JSON-RPC路径:默认为 http://主机地址:端口/jsonrpcxxxxxx@主机地址:端口/jsonrpc
Aria2 bt-tracker列表的更新脚本
保存:/root/aria2c-track-update.sh
#!/bin/bash

CONF=/etc/aria2/aria2.conf #配置文件路径
list=`wget -qO- https://raw.githubusercontent.com/ngosang/trackerslist/master/trackers_all_ip.txt|awk NF|sed ":a;N;s/\n/,/g;ta"`
if [ -z "`grep "bt-tracker" $CONF`" ]; then
    sed -i '$a bt-tracker='${list} $CONF
    echo add......
else
    sed -i "s@[#]*bt-tracker.*@bt-tracker=$list@g" $CONF
    echo update......
fi

service aria restart
定时任务:
chmod +x /root/aria2c-track-update.sh
crontab -e #编辑定时任务
* 0 * * *  /root/aria2c-track-update.sh
参考:
作者:matrix
发布时间:2018 年 12 月 1 日
分类:零零星星
git 仓库之前可以简单的实现包含所有提交信息数据完全搬迁操作。在之前link站的git仓库使用的csdn,后来没有维护就转移到了gitee。最近发现墙外的环境无法正常连接到gitee,也就想试试git仓库的迁移。
新建空白仓库
在新仓库建立git项目,我这里用的腾讯开发者云 https://dev.tencent.com/
克隆旧库到本地
git clone https://gitee.com/rollio/link.git --bare
说明:
推送到新库
cd link.git/ #进入刚刚克隆时生成的git目录

git push https://git.dev.tencent.com/plola/link.git --all  #推送数据

git push https://git.dev.tencent.com/plola/link.git --tags #推送标签
最终完成。 操作就几步,真的很简单方便。以后再也不用担心git数据搬家问题了,以后我的所有commit都在 哈哈。
参考:
PEACH~
作者:matrix
发布时间:2018 年 11 月 26 日
分类:零零星星
数据存储
mongoDb 自带了地理空间索引,使用2dsphere索引类型 可以存储GeoJSON格式数据 指定点、线和多边形。mongoDb 数据
{
    "_id" : ObjectId("5bf04829c6671064f9039dd0"),
    "order_info" : {
        "survey_coordinate" : {
            "type" : "Point",
            "coordinates" : [
                105.431,
                42.009
            ],
            "name":"XXXXX街道办"
        }
    }
}
order_info.survey_coordinate字段为需要存储的数据
参考:
添加索引
手动创建
db.order.ensureIndex( {"order_info.survey_coordinate" : "2dsphere"} )
//联合索引 如:  db.order.createIndex( {"order_info.survey_coordinate" : "2dsphere","category" : -1, name: 1 } )
// 指定索引名称:db.order.createIndex( {"order_info.survey_coordinate" : "2dsphere"},{name:"locc"} )
参考:
代码创建
后来专门去找了下php下代码的操作,翻看各种TP文档无果,还是Google靠谱。php官方文档中
        $mongodb;//mongodb对象为 think\db\Connection  https://www.kancloud.cn/manual/thinkphp5/167865
        //创建索引
        $command = new \MongoDB\Driver\Command([
            'createIndexes' => 'order',//给哪个集合创建索引
            'indexes' => [[
                'name' => 'order_info_loc_2dsphere',//索引名称
                'key'  => ['order_info.survey_coordinate' => '2dsphere']//索引的字段  索引类型
            ]]
        ]);
       $result =  $mongodb->command($command);

       //首次创建返回数据
//        /vagrant/saasSystem/thinkphp/library/think/Debug.php:193:
//array (size=1)
//  0 =>
//    array (size=4)
//      'createdCollectionAutomatically' => boolean false
//      'numIndexesBefore' => int 1
//      'numIndexesAfter' => int 2
//      'ok' => float 1
//0.322759s ShowPageTrace

       //重复创建返回数据
//        /vagrant/saasSystem/thinkphp/library/think/Debug.php:193:
//array (size=1)
//  0 =>
//    array (size=5)
//      'createdCollectionAutomatically' => boolean false
//      'numIndexesBefore' => int 2
//      'numIndexesAfter' => int 2
//      'note' => string 'all indexes already exist' (length=25)
//      'ok' => float 1
       halt($result);
参考:
数据查询
runCommand执行
db.runCommand( {
   geoNear: "order" , //存在2dsphere索引的集合名称
   near: { type: "Point" , coordinates: [118.783799, 31.979234] } ,
   spherical: true,
   limit:1,
})
find
db.order.find({"order_info.survey_coordinate" : { "$near" : { "$geometry" : { "type" : "Point", "coordinates" : [118.783799, 31.979234] } } } })
参考:
作者:matrix
发布时间:2018 年 11 月 25 日
分类:零零星星
GERBER是贝尔代言的求生刀品牌 这刀JD报价2K死贵 https://item.jd.com/1546446.html贝爷 家的东西二话不说 收藏都值eBay 看了下CNY 405.69,简直感动,但是运费的话按照最快的时间就要CNY202.97 价格比起狗东的要好很多。https://post.smzdm.com/p/54928/ https://auspost.com.au/mypost/track/#/search
或者使用17track更方便:
开箱图
国外测评YouTube:
VIDEO
贝爷是大学时候看荒野求生了解的,简直偶像。现在上班都是一屁股坐一天 很少时间走动,体能也差 但是心里很想出去玩玩 向往之~
作者:matrix
发布时间:2018 年 10 月 29 日
分类:零零星星
SOAR -- sql Optimizer And Rewriter 由小米运维 DBA 团队开发的sql 智能优化与改写工具20181021宣布开源。xiaomi /soar
安装说明:https://github.com/xiaomi /soar/blob/master/doc/install.md
测试环境:ubuntu 16.04
安装GO
apt-get安装失败改用GO lang.google.cn/dl/
解压:
> sudo tar -C /usr/local -xzf go1.11.1.linux-amd64.tar.gz

全局用户的环境变量:
> sudo vi /etc/profile

末尾添加:
export PATH=$PATH:/usr/local/go/bin

go版本查看:

> go version

source更新环境变量:

source /etc/profile

还需要配置GOPATH环境变量:表示go的工作目录 USER_NAME 为用户名
export GOPATH="/home/USER_NAME/go"
安装soar
> go get -d github.com/XiaoMi/soar
> cd ${GOPATH}/src/github.com/XiaoMi/soar && make
若安装顺利,最终会显示success。否则 build error
我前几次安装都失败
go build github.com/pingcap/tidb/parser: /usr/local/go/pkg/tool/linux_amd64/compile: signal: killed
Makefile:69: recipe for target 'build' failed
之后google找到帖子 有人说是vps内存太低导致的,遂重启了下Ubuntu 重新make。bingo~
安装成功之后会发现~/go/src/github.com/XiaoMi/soar多出一个 soar文件。
> cd ~/go/src/github.com/XiaoMi/soar
> echo 'select * from film' | ./soar
使用soar
常用命令:https://github.com/XiaoMi/soar/blob/master/doc/cheatsheet.md
打印所有的启发式规则
$ soar -list-heuristic-rules
打印支持的报告格式
$ soar -list-report-types
以指定格式输出报告
$ soar -report-type json
语法检查工具
$ echo "select * from tb" | soar -only-syntax-check
$ echo $?
0

$ echo "select * fromtb" | soar -only-syntax-check
At SQL 0 : syntax error at position 16 near 'fromtb'
$ echo $?
1
慢日志进行分析示例
$ pt-query-digest slow.log > slow.log.digest
# parse pt-query-digest's output which example script
$ python2.7 doc/example/digest_pt.py slow.log.digest > slow.md
SQL指纹
$ echo "select * from film where col='abc'" | soar -report-type=fingerprint
输出
select * from film where col=?
将UPDATE/DELETE/INSERT语法转为SELECT
$ echo "update film set title = 'abc'" | soar -rewrite-rules dml2select,delimiter -report-type rewrite
输出
select * from film;
合并多条ALTER语句
$ echo "alter table tb add column a int; alter table tb add column b int;" | soar -report-type rewrite -rewrite-rules mergealter
输出
ALTER TABLE `tb` add column a int, add column b int ;
SQL美化
$ echo "select * from tbl where col = 'val'" | ./soar -report-type=pretty
输出
SELECT
  *
FROM
  tbl
WHERE
  col  = 'val';
EXPLAIN信息分析报告
$ soar -report-type explain-digest << EOF
+----+-------------+-------+------+---------------+------+---------+------+------+-------+
| id | select_type | table | type | possible_keys | key  | key_len | ref  | rows | Extra |
+----+-------------+-------+------+---------------+------+---------+------+------+-------+
|  1 | SIMPLE      | film  | ALL  | NULL          | NULL | NULL    | NULL | 1131 |       |
+----+-------------+-------+------+---------------+------+---------+------+------+-------+
EOF
##  Explain信息

| id | select\_type | table | partitions | type | possible_keys | key | key\_len | ref | rows | filtered | scalability | Extra |
|---|---|---|---|---|---|---|---|---|---|---|---|---|
| 1  | SIMPLE | *film* | NULL | ALL | NULL | NULL | NULL | NULL | 0 | 0.00% | ☠️ **O(n)** |  |


### Explain信息解读

#### SelectType信息解读

* **SIMPLE**: 简单SELECT(不使用UNION或子查询等).

#### Type信息解读

* ☠️ **ALL**: 最坏的情况, 从头到尾全表扫描.
markdown转HTML
通过指定-report-css, -report-javascript, -markdown-extensions, -markdown-html-flags这些参数,你还可以控制HTML的显示格式。
$ cat test.md | soar -report-type md2html > test.html
PEACE~
参考:
1 2 3 4 5 6 7 8 9 23


 "
"